×
![]()
Test Area 1-115 Instrumentation & Control Building
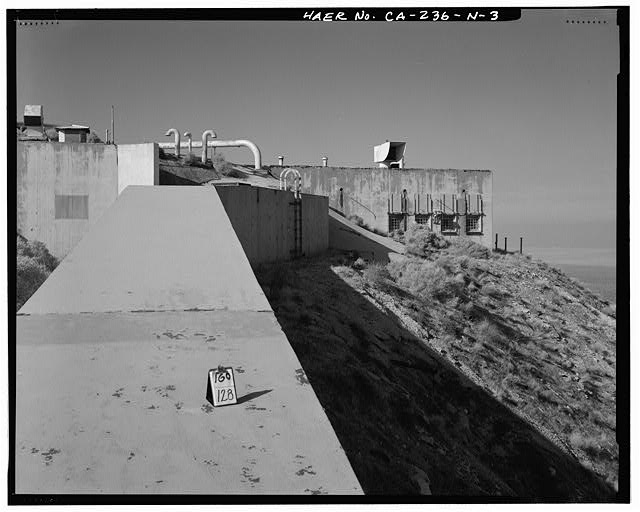
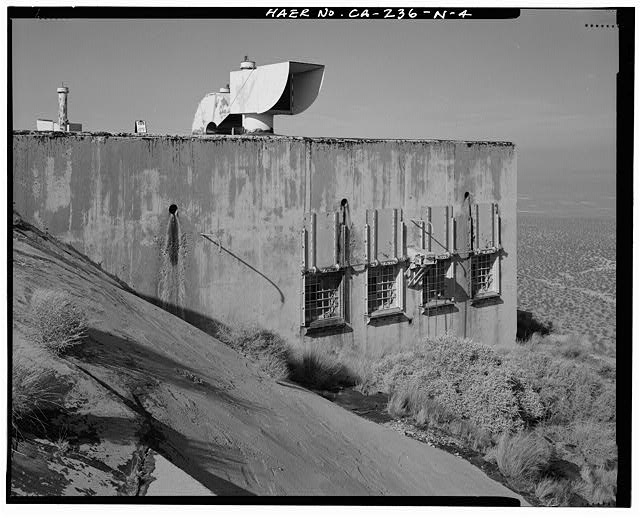
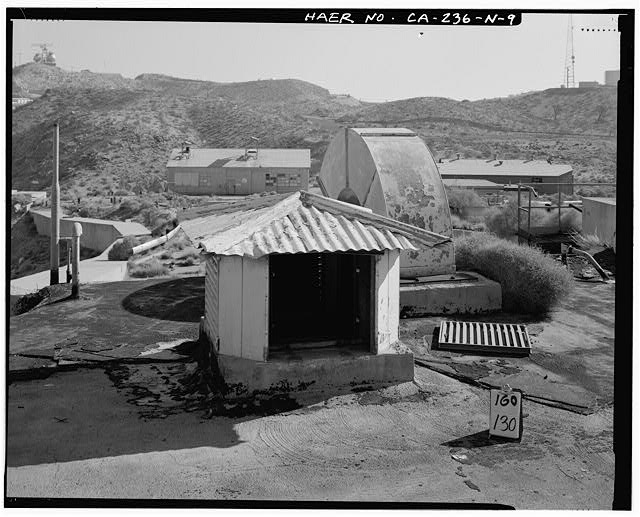
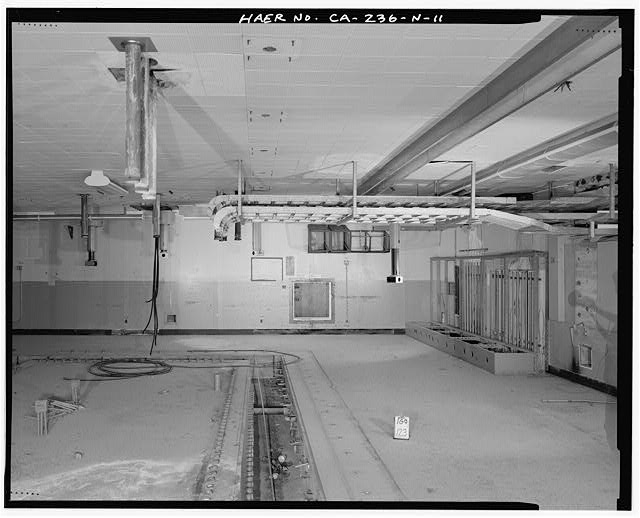
Bldg. 8668 is a one-story, semisubterranean building with a rectangular plan. It is constructed of reinforced, poured concrete and has a flat roof The entry to the building is recessed into the ridge with concrete retaining walls leading to the entry door (CA-236-N-2, CA-236-N-3). The northern retaining wall also serves as a wall for an enclosed walkway that leads from Bldg. 8668 to Test Stand 1 -3 (CA-236-N-9). Fenestration is minimal, consisting of two square, recessed bullet-glass windows on the eastern and western facades for viewing the test stands (CA-236-N-3, CA-236-N-4, CA-236-N-7). The roof houses an escape hatch from the control room below and several periscopes for viewing the test stands (CA-236-N-5, CA-236-N-6, CA-236-N-8). The interior consists of the control room, an instrumentation room, and an observation hall (CA-236-N-10 through CA-236-N-15).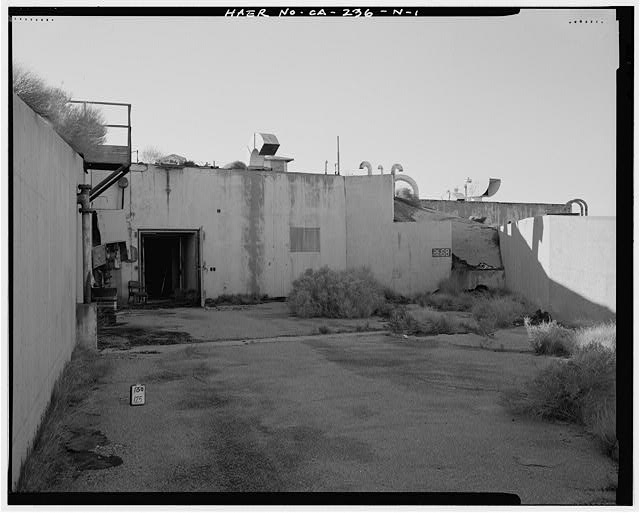
EAST ENTRANCE FROM LOADING AREA. CONCRETE TUNNEL TO TEST STAND 1-3 IS AT RIGHT.
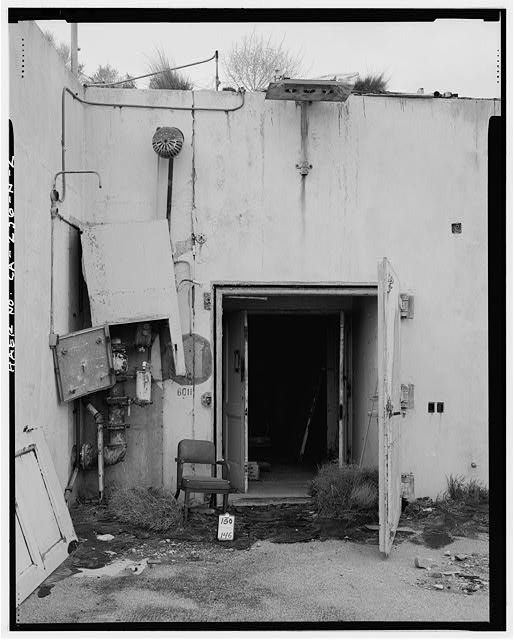
DETAIL, EAST ENTRANCE, SHOWING OUTER BLAST DOOR AND INNER DOORS.
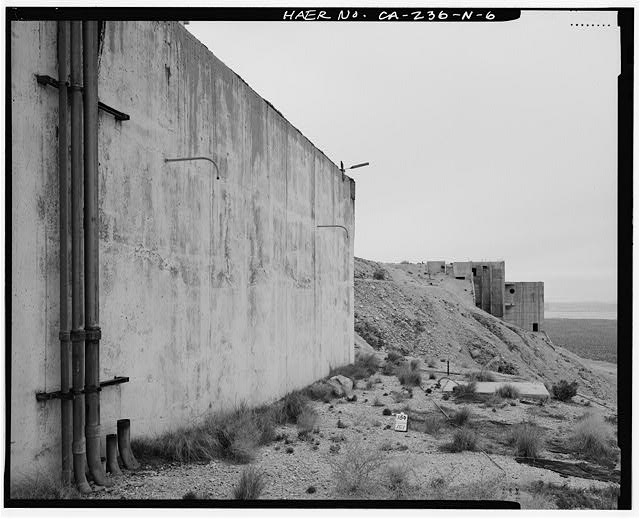
EAST SIDE FROM ATOP TUNNEL, SHOWING BLAST SHIELDED WINDOWS AND PERISCOPE FACING TO TEST STAND 1-3.
DETAIL SHOWING PERISCOPE AND SHIELDED WINDOWS ON EAST SIDE, NORTH PART.

NORTH REAR, EAST PART, SHOWING ESCAPE HATCH. TEST STAND 1-3 AND ITS MACHINE SHOP ARE IN MIDDLE DISTANCE.
NORTH REAR, WEST PART. VIEW TO SOUTHWEST. TEST STAND 1-5 AT RIGHT.
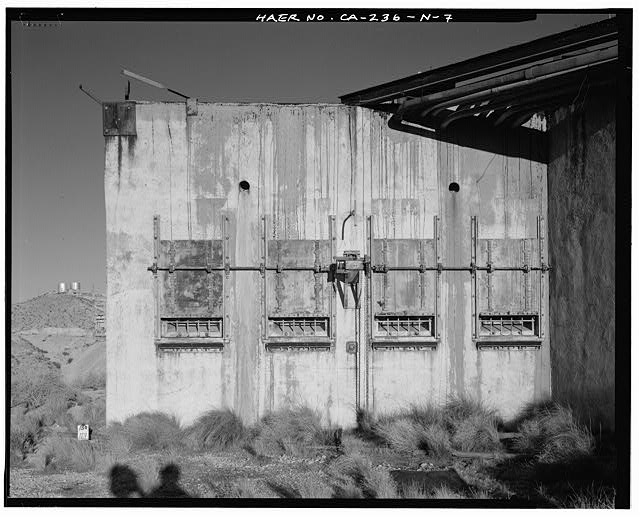
DETAIL SHOWING BLAST SHIELDED WINDOWS, WEST SIDE.
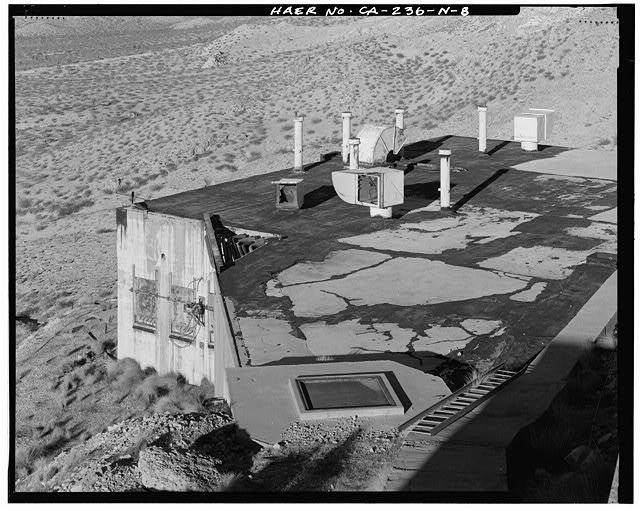
NORTH PART OF ROOF, WITH PERISCOPES ALSO SHOWING WEST SIDE.
DETAIL, ROOF VENT HOUSING. NOTE THE TUNNEL TO TEST STAND 1-3 AT FAR LEFT, AND ITS MACHINE SHOP AT LEFT CENTER.
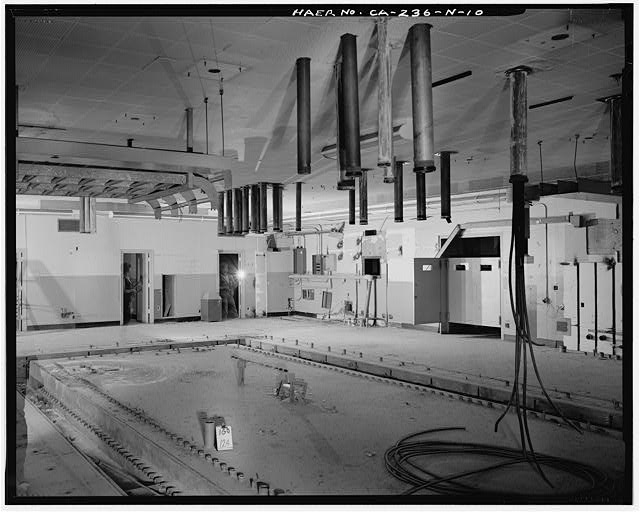
CONTROL ROOM INTERIOR. Looking into southwest corner. CONTROL ROOM INTERIOR, SHOWING ESCAPE HATCH. Looking north along east wall.
CONTROL ROOM INTERIOR, SHOWING SEVERAL PERISCOPES. Looking north along west wall.

'TAPE ROOM' LOCATED AT SOUTHEAST CORNER OF MAIN ROOM.
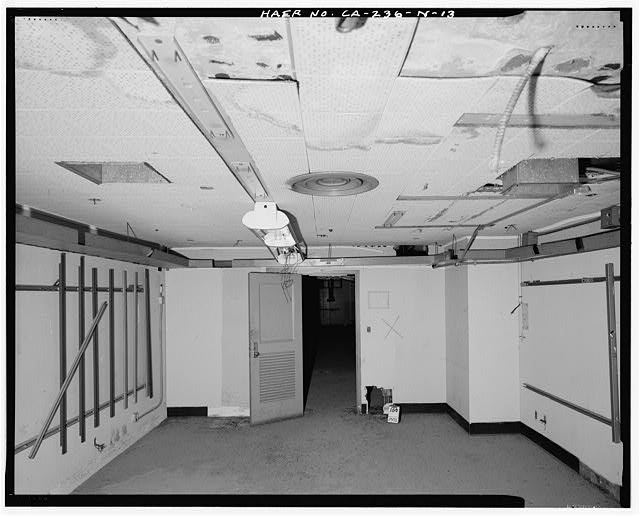
OBSERVATION HALL ALONG WEST SIDE. DOUBLE DOORS LEAD TO MAIN ROOM. Looking north.
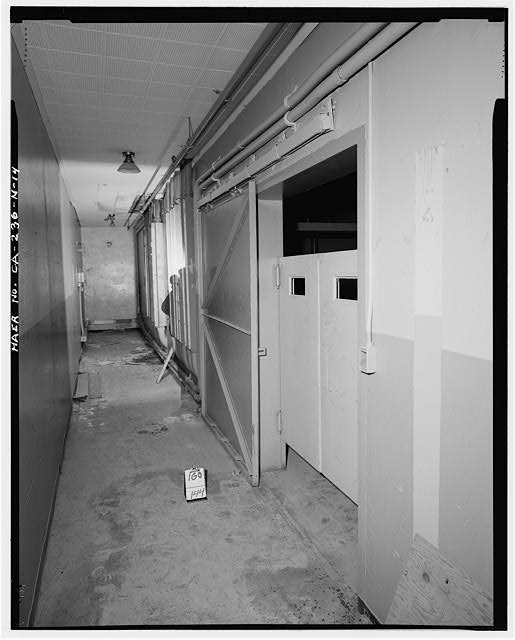
OBSERVATION HALL ALONG WEST SIDE. Looking south to escape ladder.
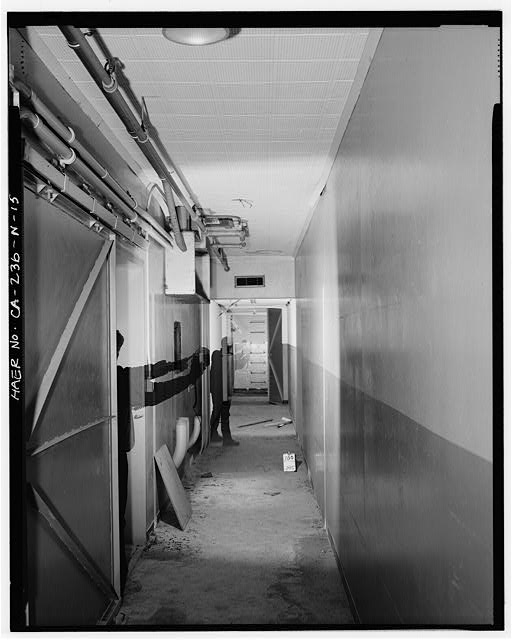
OBSERVATION HALL